THE PHOENIX IMAGING PVSIS™
– A NEW STANDARD IN AUTOMATED VISIBLE INSPECTION
Machined metal components often expose voids in the metal structure referred to as porosity. Porosity defects are often found inside a cast metal component and pose no problem to the functionality of the component. However, if the machining process intersects one of the voids and exposes the void in a critical sealing area this may be problematic. The Phoenix Vision Surface Inspection System (referred to as PVSIS™) provides a method to scan the machined surfaces a determine if the porosity is a significant size and depth that it will cause a problem with the seal between two components. The PVSIS™ system provides high resolution surface scans in 3 Dimensions, using both grayscale (Illuminance) and height images. The system is able to identify actual porosity (defects that have depth below the scan surface) from debris that rest on the scan surface.
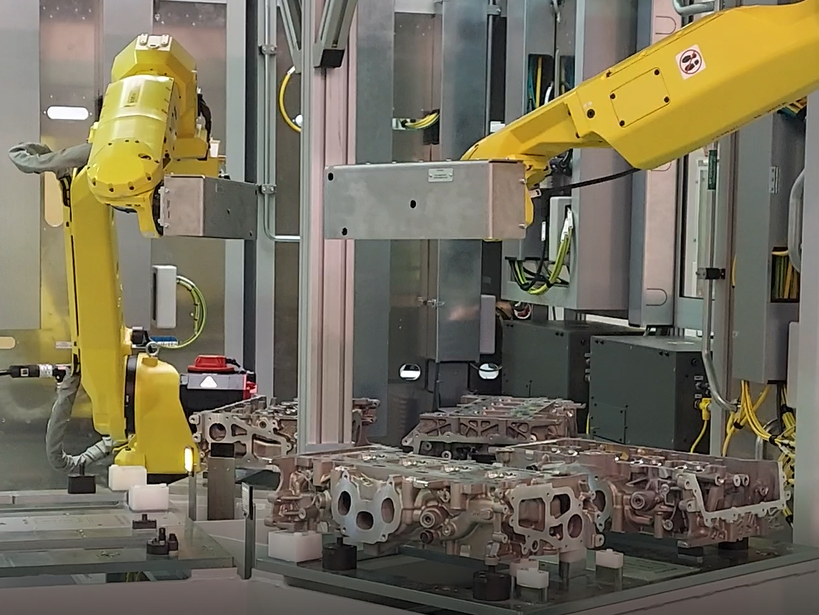
The scanning of the surface can be achieved by moving the sensor or moving the component. When moving the component, the sensor is held in fixed position and component is translated past the sensor. When the sensor is translated the component is held in fixed position. When the inspection requires the scanning of multiple surfaces the sensor can be mounted on the end of arm tooling of a robot.
When the inspection requires the scans of multiple surfaces the robotic option is best. Depending on the resolution of the laser sensor multiple passes may be required for each surface. The system has been designed to scan at scan velocities of up to 100 mm / second while still providing excellent image quality. The LJ-X8300 sensor can provide 50µm resolution at the scan speed of 100 mm / second. The sensors are mounted in the protective steel housing shown in Figure below. The working distance (distance from sensor to surface) is pre-determined by the sensor.

Comments are closed